Been a little time in the making or should I say in the doing!
But to end 2019 I finally put the plan into action and started selling images from locations I’ve shot!
Having posted images to a number of sites and asked the question who would buy ? And got some great feed back I hope that this will be a worth while thing
I would really love to see what people think and would be super happy to know that people want my art on their walls.
If you’re interested in buying or checking out some of the images take a look at the link below
This week we have been learning to create some ver basic video content for out YouTube channel!
We have some way to go to perfect it but content is now starting to pop up! A few new videos have gone live this week
And we have a new one coming out in 24 hours time where I edit an image using lightroom mobile to create the image you will see below !
So head over to our channel and give it a follow, would be great to have you come along as we start out on our adventure it would be great to have some likes and shares so on! And hope that you will stick with me as I learn and build my channel!
It seems that a lot of photographers have gone with the flow of the season!
Working with the beautiful colours that this time of year brings along with the dark nights and indoor shoots for a number of studio shoots !.
The last few weeks we have been gearing up for the busy time of year where all the parties start and portraits and portfolio start being the thing!
I got one love this time of year! I love the colours the cosy nights by the fire and closing those curtains early shutting out the windy weather and those days of rain!
But I also love shooting in this too! Will be getting to grips with a few shoots over The coming weeks leading up to Christmas and new year!
Having been a busy year shooting and working on projects I’m definitely looking forward to the coming months ahead
Below are just a few of our latest edits out the editing room comment below what’s your favourite image
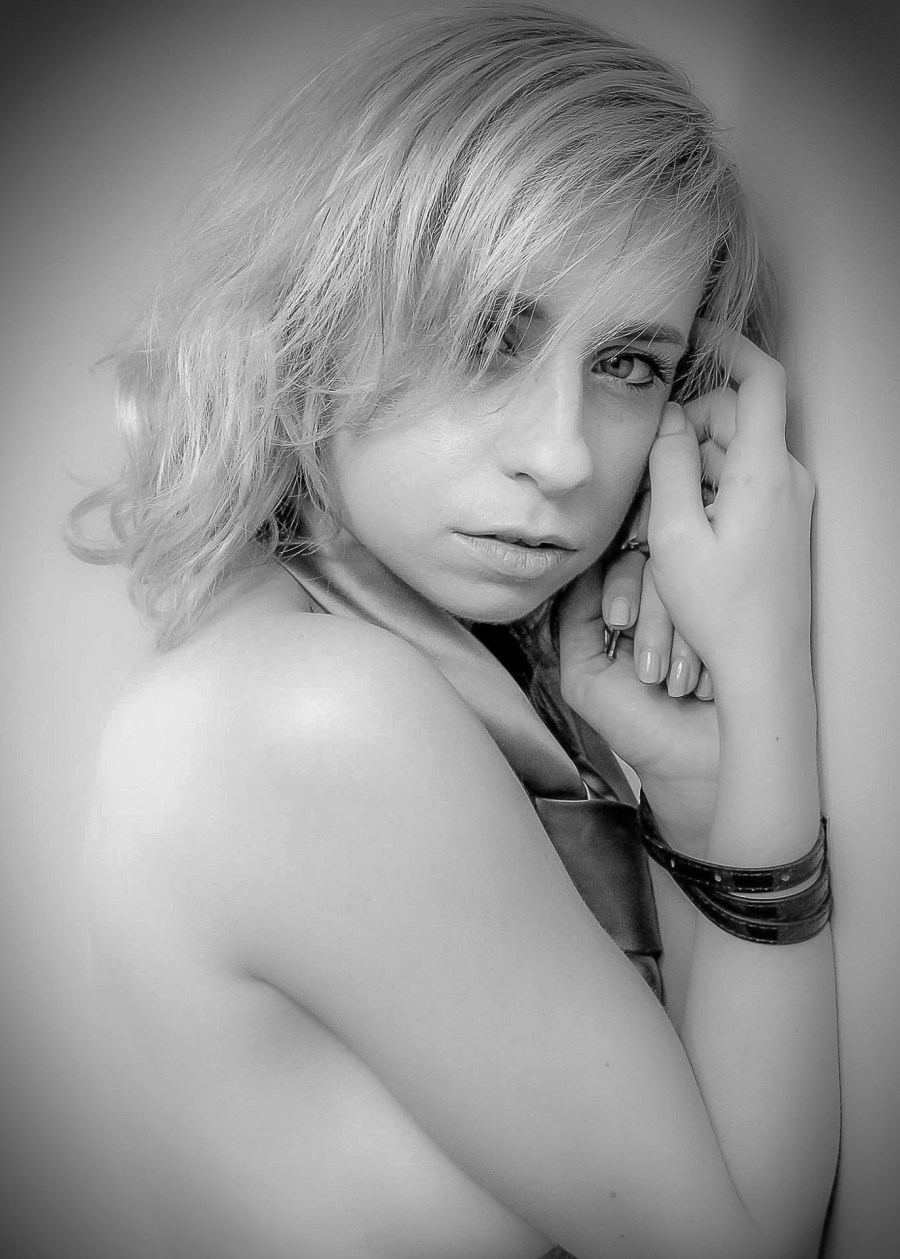
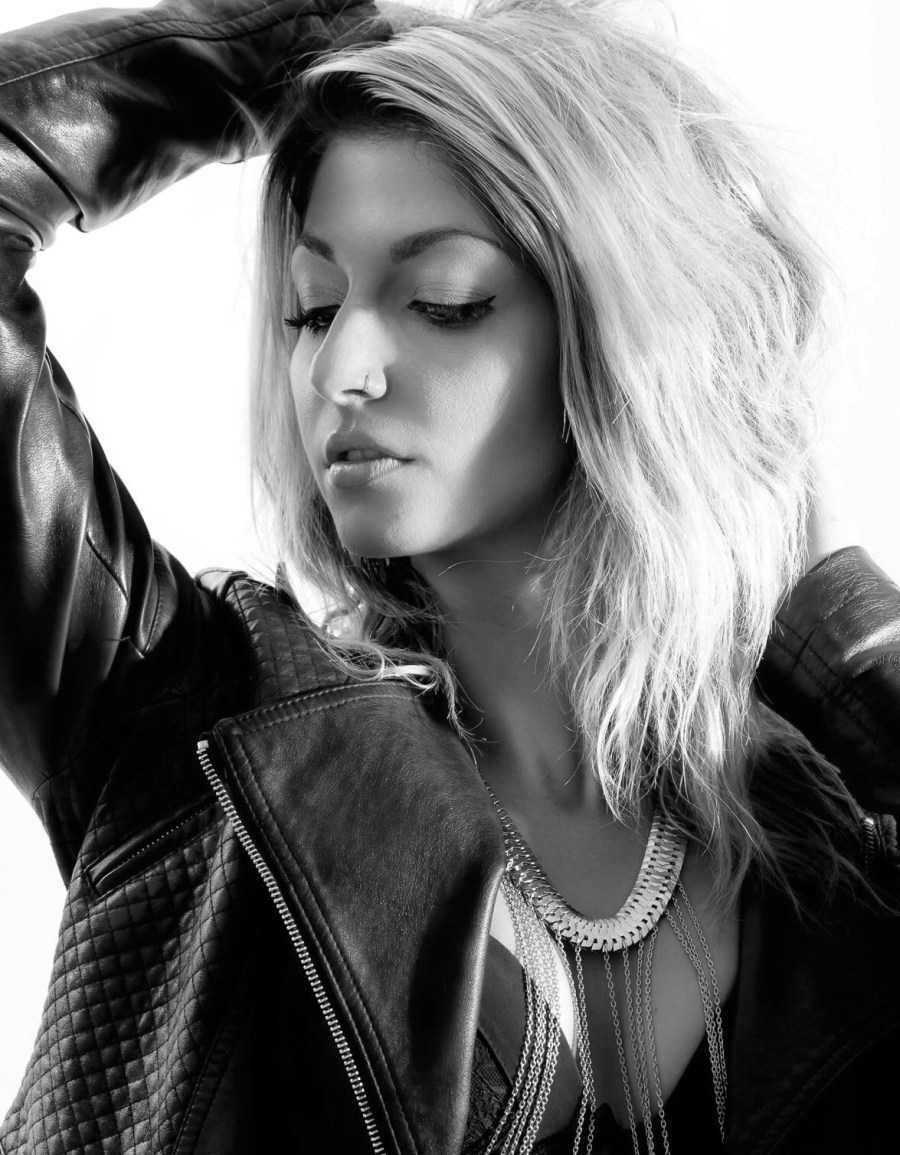
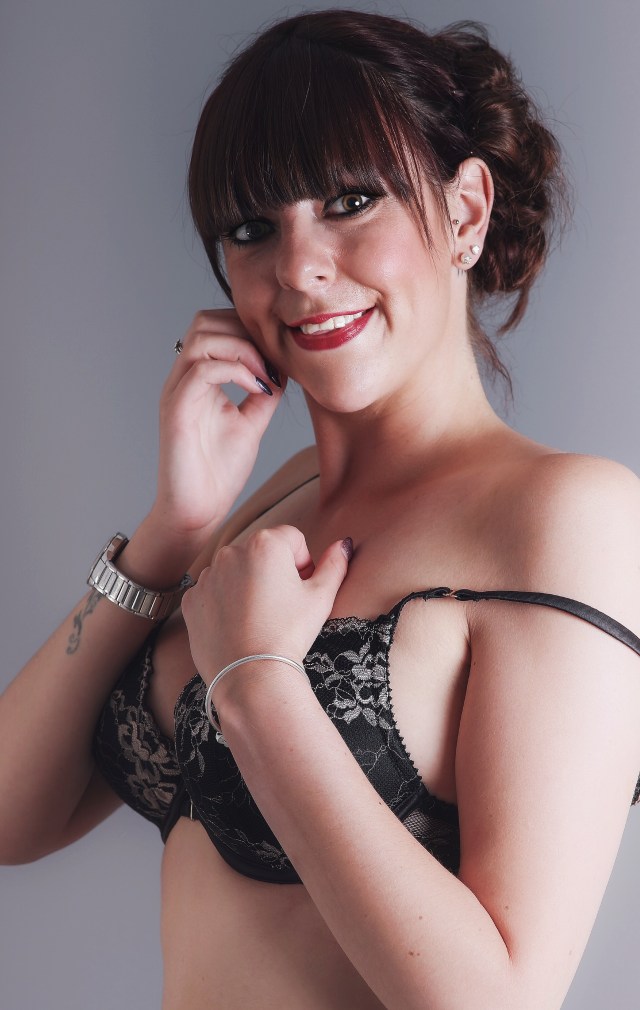
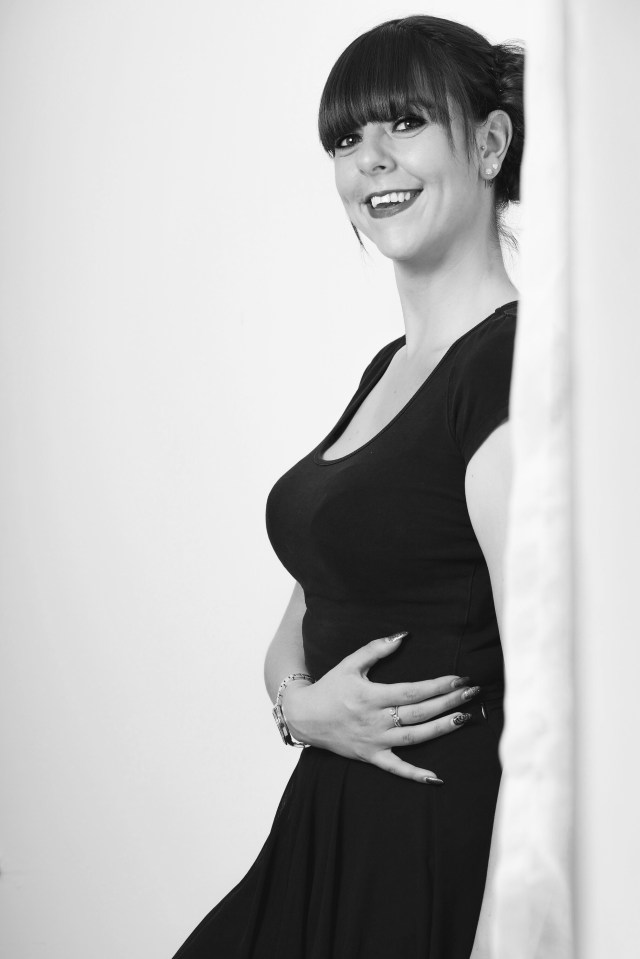
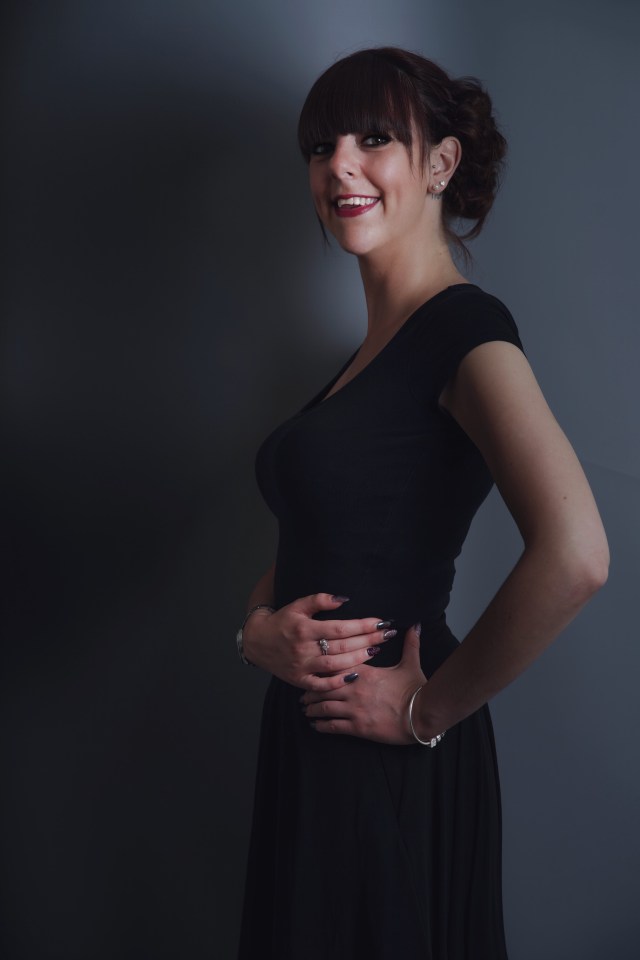
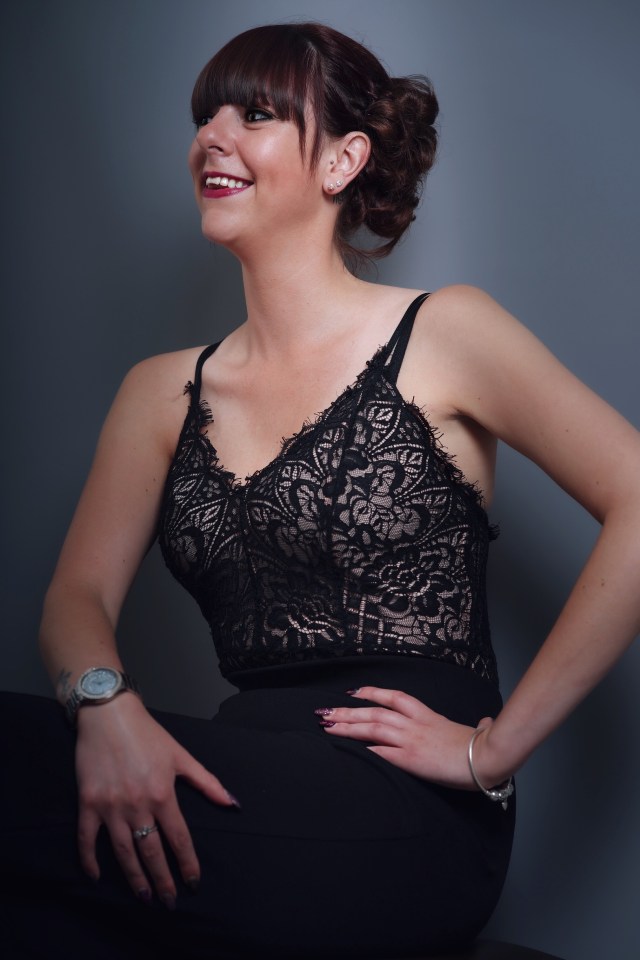
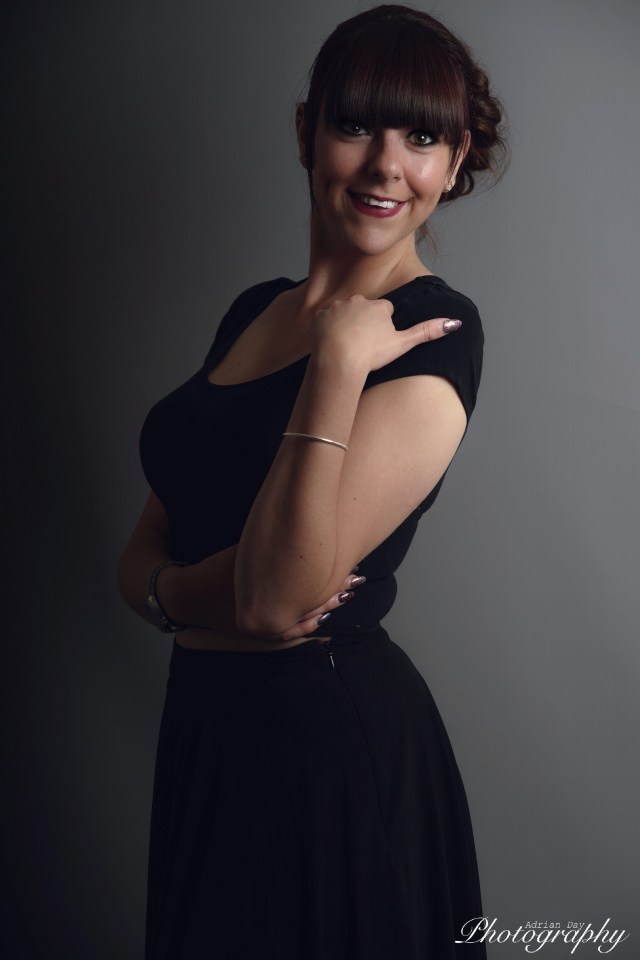
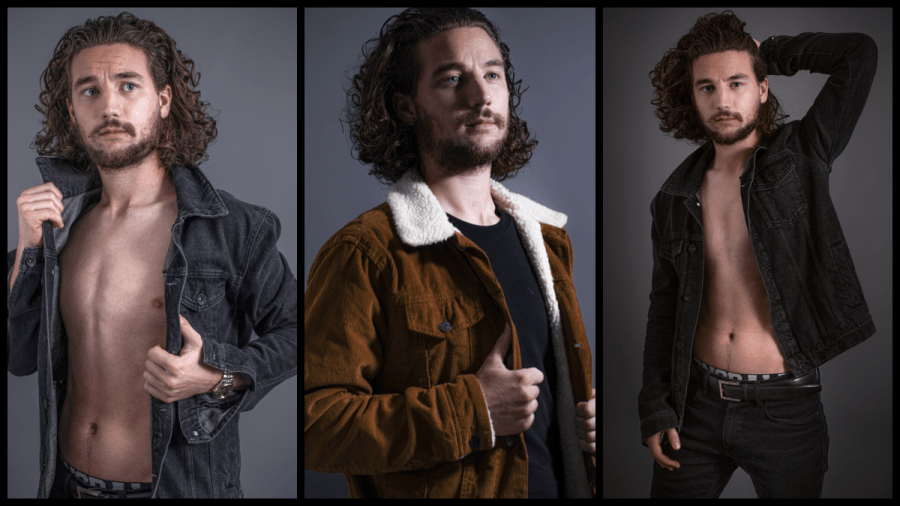
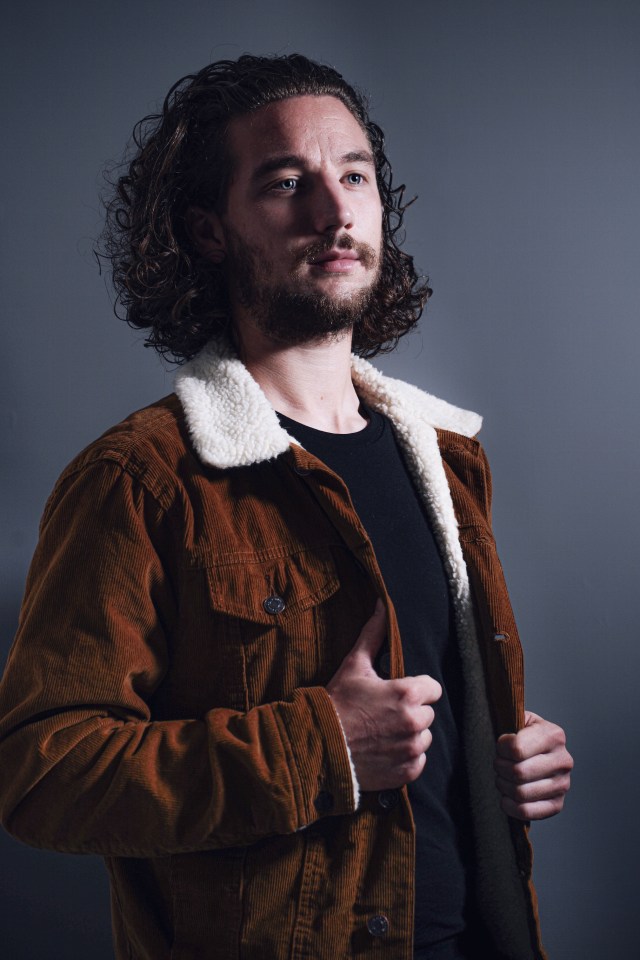
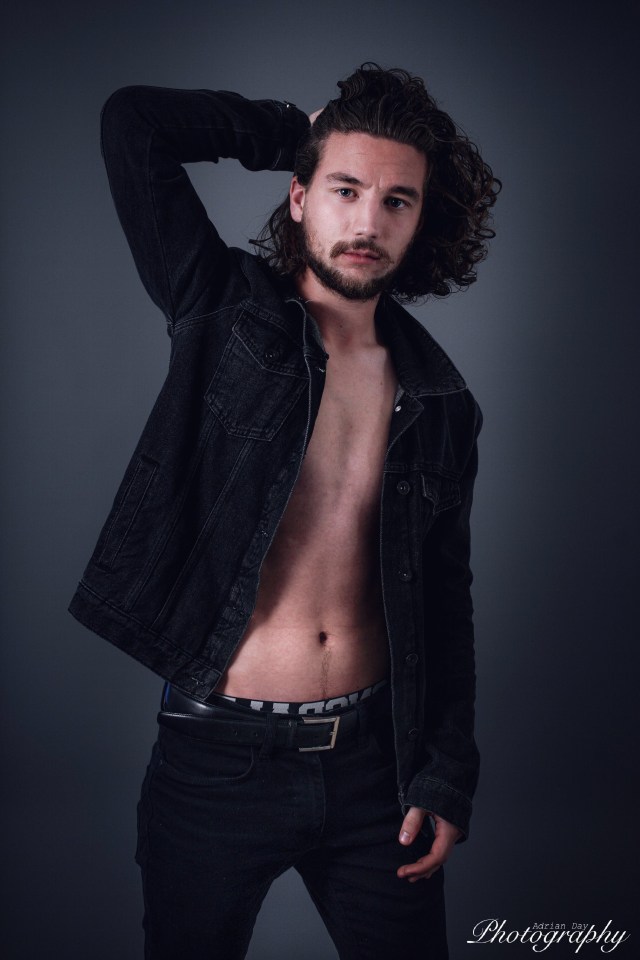
Jack denim fashionSarah on locationJade in the studio boudoir style shootSarah studio boudoir shootAmber wedding location shootAlana studio shoot
When life and business gets out of hand and you have so much to do there is very little time to get online to update everyone what we have been doing and what special offers we are currently running!
A little update while I have a few minutes.
Firstly we are running some new deals starting October 1st that will be up and running just for 14 days but I’m sure that people will love the deals and definitely will be something not to miss !
Another deal will be the “early booking deal” Book now for next month (November) and will give you double the digital images so that you can have more images to keep or use for Christmas gifts
More info coming soon or you can email us to ask for latest deals
—————————————————————————-
And to finish we have been shooting a lot of private client work lately, so we can’t post them up on our social pages or even our website
but we have some images from the last months editing room!
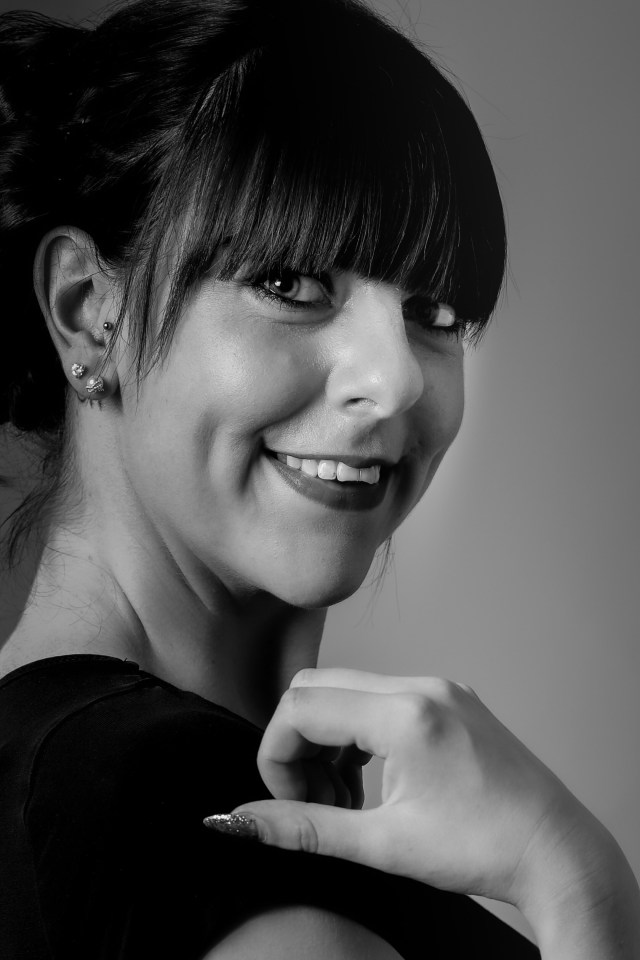
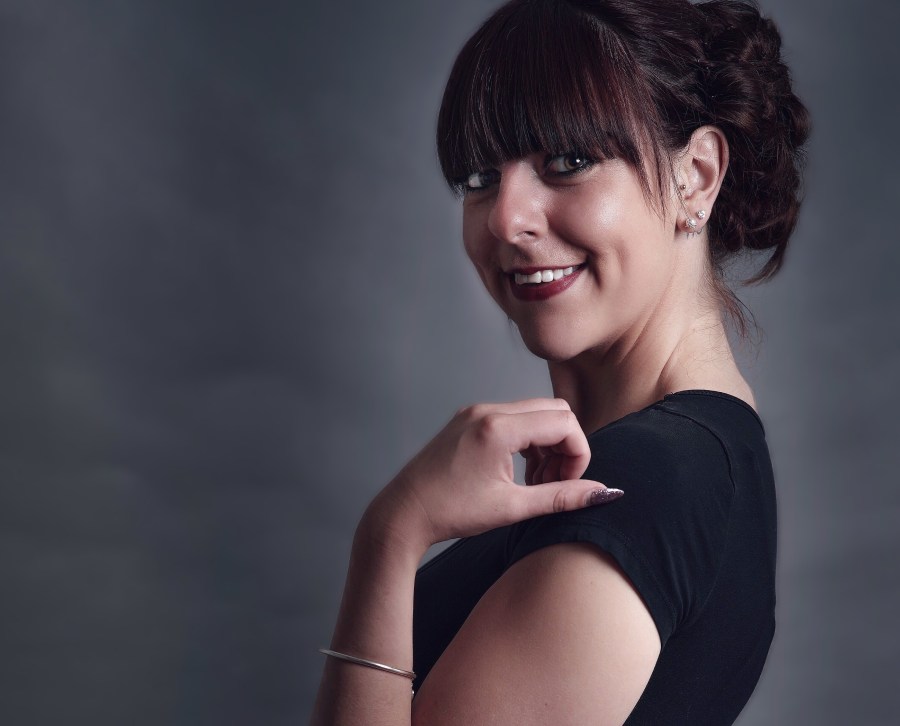
It was a pleasure working with Alana on a new shoot! She is definitely fun to work with and we managed to get some lovely images in our short shoot slot!
Normally we set aside a 3 hour window so that we get a number of outfits and a lot of poses in each outfit!
This shoot was a shorter shoot time of two hours so it tested us a little !
Taking into account that we had five shoots booked in so ten hours of booked shoot time and then getting ready for the next client it was a fast think on your feet day!
With Each client changing around 5 times some did more! But having lighting set up and keeping a constant flow of ideas is what made this happen !
With most shoots we plan out what’s going to happen so we know we get the shots! This shoot was a little more think on our feet ! Short notice new lighting small space!
But I think we managed it!
What do you all think here are a few of the images from the shoot definitely a mix of lovely images
Let us know what you think always welcome a comment !
With everything in photography there is a fine line between right and wrong! and this is just my way of seeing things
Now having said that there is also a basic standard that we should work to! And once you have the basics you can then burn the rule book and get creative.
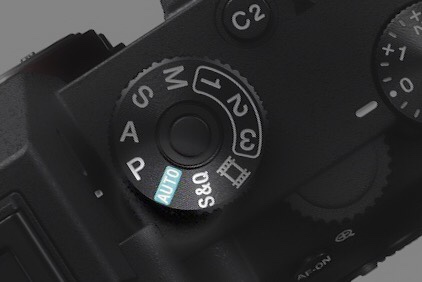
This first part of tech Thursday is going to be about stepping into the world of “auto” not a big favourite but the best place to start!
Auto setting on a Sony a7iii highlighted in green
The above image is set to p but auto would need to be selected
Setting a camera to auto will be one of the simple ways to start out in photography. This is the setting that most new photographers will look at just so they can get used to holding a camera and honestly Start playing about with taking images of everything from family cars plants and so on.
Auto is exactly that! It automatically sets the camera to give what the camera believes to be the best mix of iso, aperture and shutter speed. This is known as the exposure triangle all setting use this triangle but each setting may use it in different ways
Auto has it’s down sides though, to me this is that there isn’t any room for being too creative. With the settings like bokeh with the blurry background or low light moody shots!
This is because the camera will pick from all the light and dark points and come up with a mathematical equation this will then automatically set the iso aperture and shutter speed to give what it thinks is best! with the amount of light hitting the sensor
This can result in some good and bad results.
For example, if you are taking a picture of black car against a bright backlit skyline with a lot of white clouds the camera will add everything together over all the sensors pixels to try and get 50% grey now if there is more white than black in the shot the camera will nine out of ten times under expose the dark colours this would then result in the image of the car looking more of silhouette shot than a photo of a well exposed car and sky.
Now on the other hand, if the camera takes in the darkest points of the black car, the result will be the opposite the sky will become blown out over exposed leaving next no details of the clouds but this time the car should be pretty close to good exposure.
There is also a number of annoying factors such as the auto setting may use an iso that induces a grainy effect to the image as the higher the iso goes the more grainy an image will become! And this will lower the clarity of the finished image.
Also if there is movement in the image the camera doesn’t take this into account in auto so it may choose a shutter speed that’s slow so could result in blurry images
I’ve had images where the camera sets the aperture to f6.3 iso of 800 and a slow shutter speed this then had a grainy look but also had blurring… its okay if you want to capture a still object but not great for movement!
Upside to shooting auto is that you can get shooting right away without to much knowledge of the bigger details of the camera
This was where I worked more on Composition. Working out where in the frame to place the object or subject as this is a good thing to learn as soon as possible. I will go into the rule of thirds in a later post but just filling your frame and moving the subject left right up Down will give you a feel for what can be achieved and what looks good to you!
Also depending on the camera you’re using and the lens images and setting will be different
So go try set you camera to auto and take a few shots see how you get on!
This post is just simple outline over the next few weeks more posts and a deeper understanding of this setting will be posted