This is a high quality image download that will print to 60x40cm with a high quality finish. When printed professionally at a printing company.
The image looks amazing on walls in bedrooms , offices, lounges and more and are perfect if you own a hotel or restaurant.
When purchasing this digital download you get the rights to create upto and no more than three copies. For personal use. Or to give to someone else. Where no monetary benefit or transaction are made.
PRICED AT £10.99 AND DOWNLOADED FROM OUR SECURE PAYMENT SITE AT KO-FI @ THE LINK BELOW.
New video now live on my YouTube channel! I Would love your support if you have a moment even if you don’t manage to watch all the video, give it a reaction maybe even subscribe.
TAP THE IMAGE TO VIEW MY VIDEO ON YOUTUBE!
Have a great week and hope to catch you next week with another post and video !
This is only going to be a short post ! So a quick read 😉
We have a new YouTube channel that we are starting to help photographers. Be that phonetographers 😉 or DSLR /mirrorless photographers.
It’s just starting out and only the introduction video and a few editing videos up and shared so far as been testing out how it works ! New to posting video content. But would really appreciate if anyone who reads this new post could take a second to go take a look and if it’s something you want to follow please do would love to have you along for the journey !
The first real video should be going live this week! And will be about angles .. with a few shorts about simple things like iso aperture and shutter speed being posted just to show case what the basic function is those will come out over the next month.
So if you have a moment please hit the link below (picture) to head over to my new channel .. share the love and hopefully we can catch up and get creative together !
The photography community got hit pretty hard when the uk was his with the coronavirus.
When people couldn’t come together, it made being a photographer pretty void. We couldn’t do wedding, birthday parties, family or single person portraits and couldn’t keep doing our main income of corporate headshots.
So a number of amazing photographers had to diversify into other forms of photography. To keep their business afloat.
Me being one!
It’s not a hard transition if I’m completely honest! As long as you know your gear and understand the basics of composition then a lot of it falls into place pretty fast.
I think I was very lucky to have a good array of different lenses, That would suit both portrait and landscape photography. As I own zoom and prime lenses with every focal length from 10mm to 900mm so i feel I was in a good place to take the plunge with landscape photography.
So I headed out on what was to be a fun journey of landscape exploration and documentation.
Along the way it’s taken some side steps not only have I found amazing places to photograph but also beautiful seascapes, shipwrecks even cityscapes.
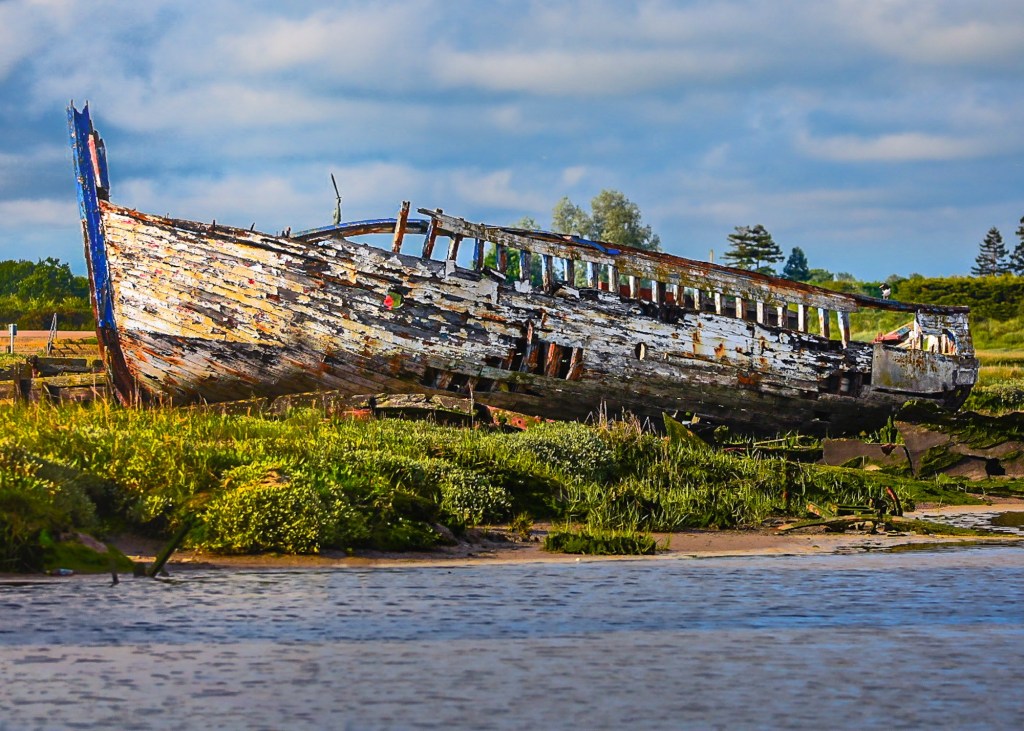
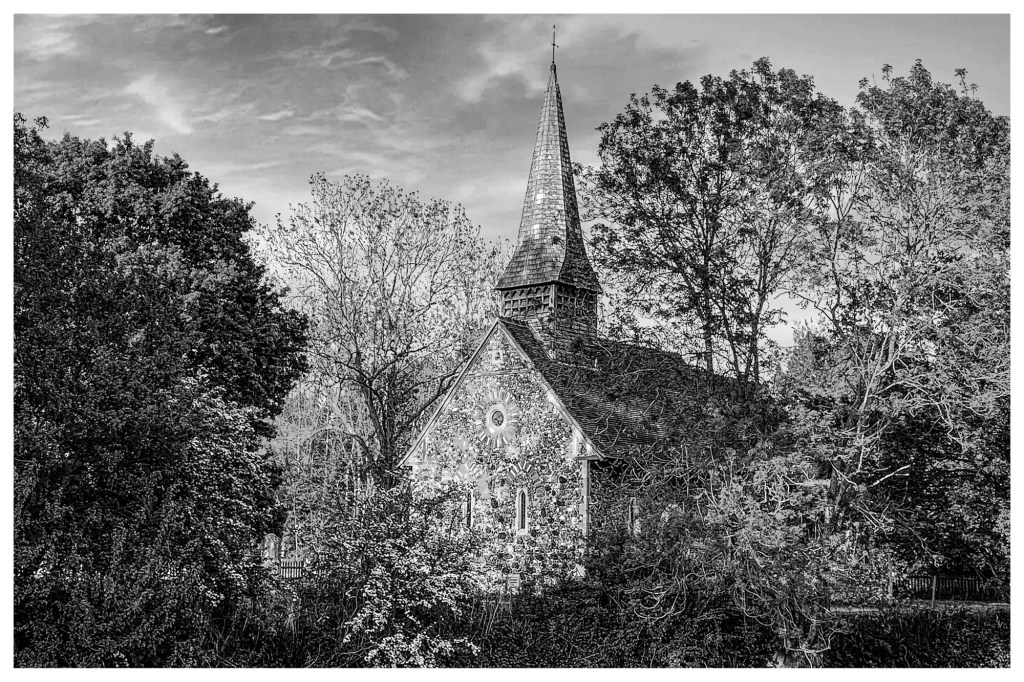
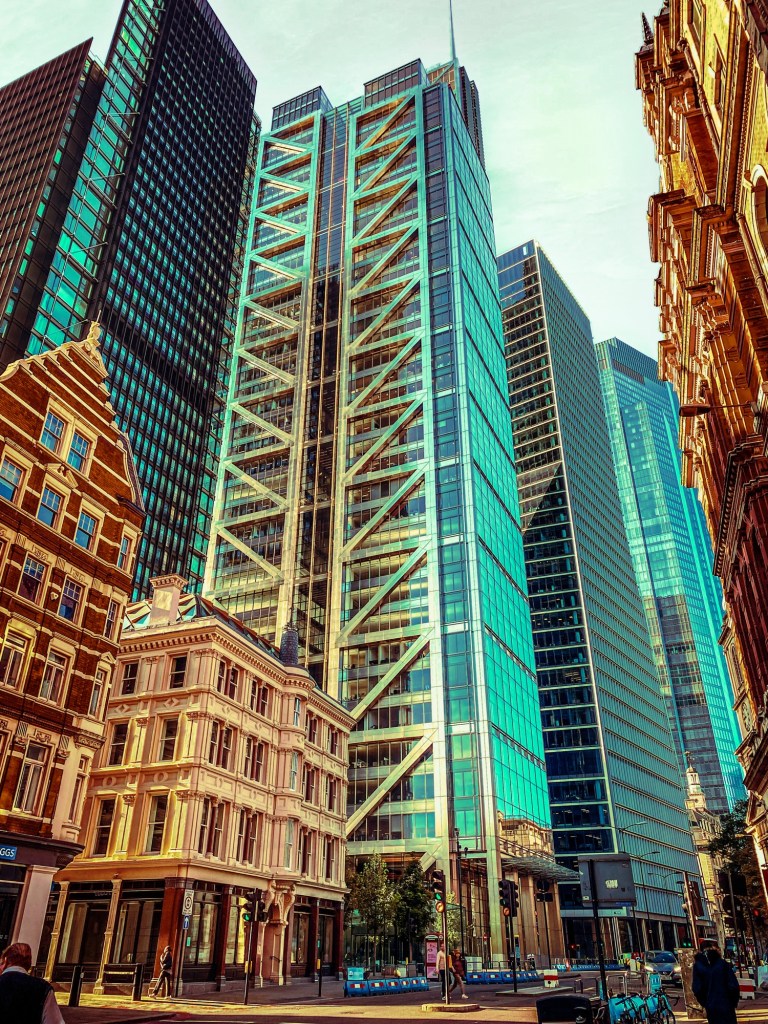
Karma shipwreck Local ChurchesThe City of London
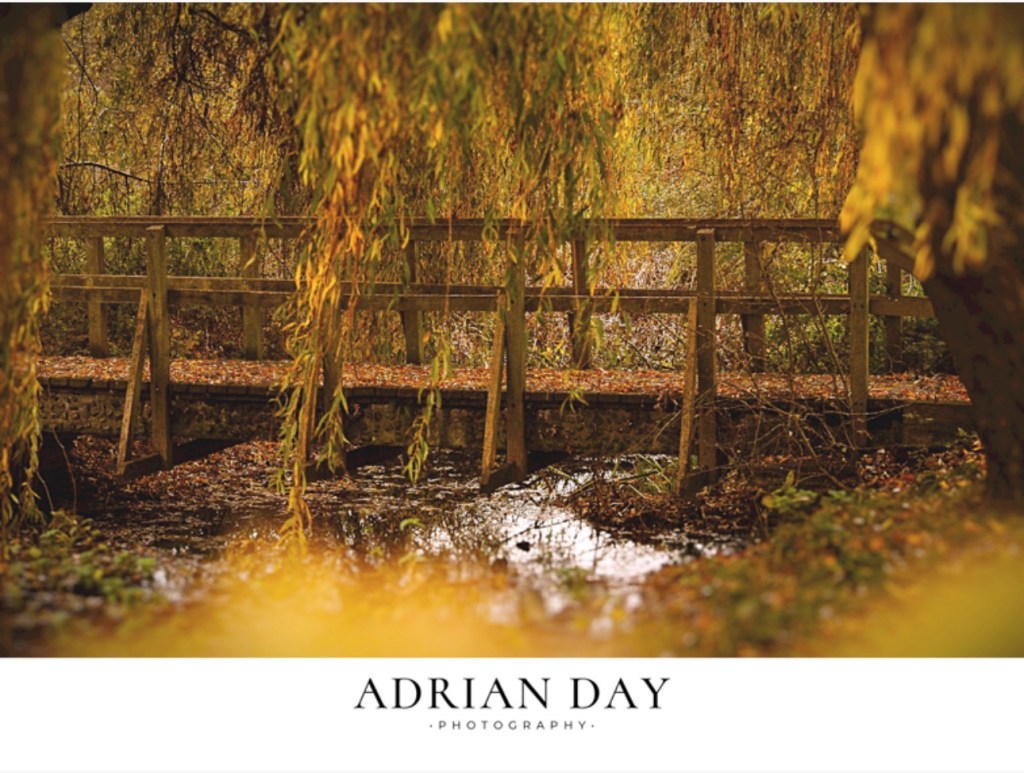
Autumn vista Delph Ditch Maldon
In the last two years I’ve seen and captured some amazing images. From sunsets to blue moons, old barges and rundown buildings that are part of our history but will never be re built. But tell stories of years gone by.
I’ve seen my images in local news papers, in magazines, printed on show stands at photography shows for companies like fujifilm. Even been part of a gallery exhibition.
All these things I couldn’t have dreamt of being a part of without becoming a landscape photographer.
Over the next few months I will adding new images and sharing more of what I’m doing on here so I hope to get your support and feedback
So Two years on and I now have a passion for landscape and where it can take me. And now I’m branching out. So that many more people can be part of my journey. I’m opening a small online store so that people can purchase my images as digital downloads and also printed photography products. At a low price.
And at the same time support me on my journey if you wish to know more /make a purchase click the button below it will take you there
Buy with confidence securely 24/7
What you can expect to find over the coming weeks
High resolution image downloads
Calendars (current year 2024)
Christmas cards
Birthday cards
Wall art
Keyrings
All this & More will be added over coming weeks.
You can also support us by donation on the same app. This is done with either purchasing a product and adding more to the price or simply using the donation button and donating what you can afford.
Please if you have gotten this far please click follow to see updates as we will be posting new product listings as we add them to our shop. And also you can see some of our new amazing images first.
New video now up streaming with the pictures from the maldon classic car show.
This is a short snippet of what I got on the day. But the images in this video I whole heartedly love! So
If you have a moment or 26seconds would love to have your support. Just click the thumbnail below to head over and watch it.. if you can watch the whole 26 seconds and then if you like it hit the like button.. as this really does help my very small channel.
Photography is an art form that has evolved over time with the advancement of technology. One of the essential aspects of photography is ISO, which determines the sensitivity of the camera’s sensor to light. ISO stands for International Organization for Standardization, which sets the standard for sensitivity ratings in photography.
In this short post we will discuss what ISO is and how it works and categorize it into three categories: basic, in-depth, and advanced understanding.
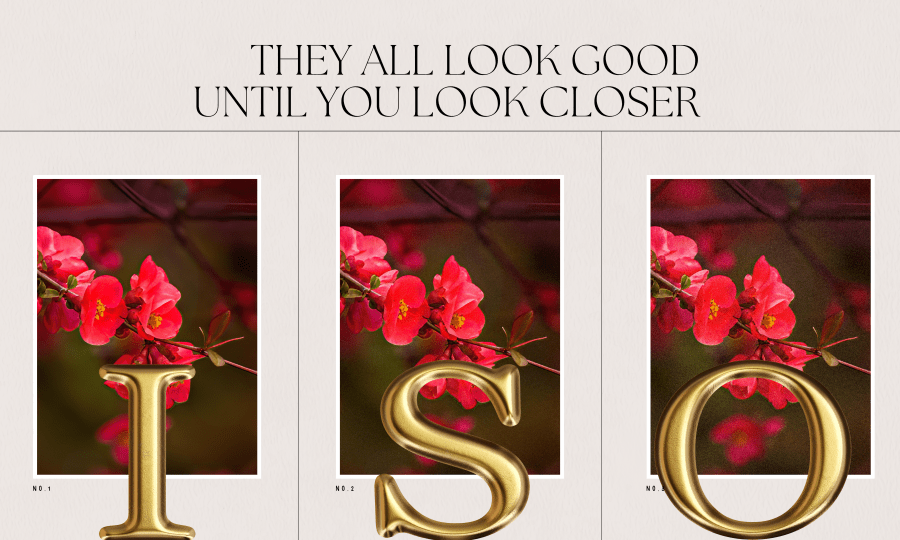
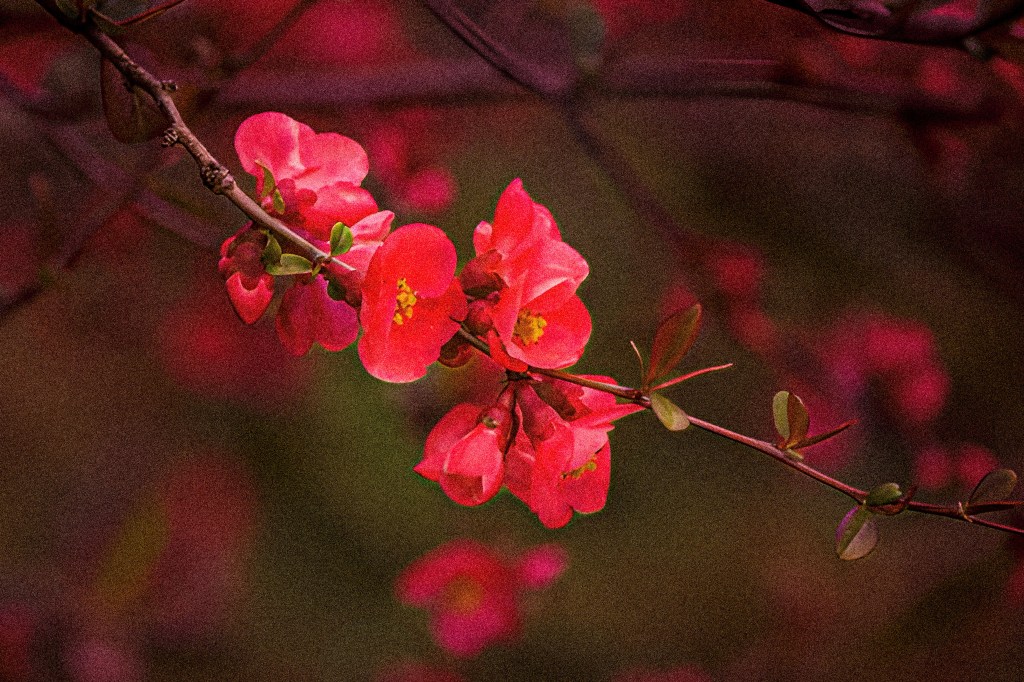
Firstly three images .. starting from 100 in picture one 3200 in picture 2 and 6400 in picture three. to see the way images have less detail and also more noise the higher the ISO
Image 1 shot at ISO 100 – Nikon 7200Image 2 shot at ISO 3200 – Nikon 7200Image 3 shot at ISO 6400 Nikon 7200
Basic understanding of ISO:
ISO is a measure of the camera’s sensitivity to light. The lower the ISO number, the less sensitive the camera is to light, and the higher the number, the more sensitive it is. In simple terms, ISO determines how bright or dark an image will appear. For instance, a low ISO number of 100 will produce a darker image, while a higher ISO number of 800 will produce a brighter image.
In-depth understanding of ISO:
ISO is one of the three essential elements of exposure, along with aperture and shutter speed. Aperture refers to the size of the opening in the lens that allows light to enter, while shutter speed is the duration of time the shutter remains open. ISO plays a vital role in exposure because it allows the photographer to adjust the camera’s sensitivity to light to achieve the desired exposure.
A low ISO setting is ideal for shooting in bright conditions, such as outdoors on a sunny day. On the other hand, a high ISO setting is suitable for shooting in low light conditions, such as indoors or at night. However, a high ISO setting can introduce digital noise or graininess to an image, which can result in a loss of detail and clarity. It’s essential to strike a balance between the ISO setting, aperture, and shutter speed to achieve the best exposure and image quality.
Advanced understanding of ISO:
In addition to its role in exposure, ISO can also affect the overall mood and style of an image. A low ISO setting can produce a sharper and cleaner image with less noise, while a high ISO setting can create a grainy or gritty look, which can be desirable in certain types of photography, such as street or documentary photography.
Another advanced technique is ISO bracketing, which involves taking multiple shots of the same scene with different ISO settings. This technique is useful for capturing images in unpredictable lighting conditions, such as during a sunset or sunrise, where the light changes quickly. By taking multiple shots at different ISO settings, the photographer can choose the best exposure and eliminate any unwanted noise or graininess.
In conclusion, ISO is an essential aspect of photography that determines the camera’s sensitivity to light. It plays a vital role in exposure, image quality, and overall style and mood of an image. Understanding the basic, in-depth, and advanced aspects of ISO can help photographers make informed decisions when setting up their camera and capturing their vision.
This is part of basic learning with photography. There are more technical details to iso but I don’t want these posts to resemble a ikea instruction manual lol! And more make it a simple understandable read.
There are many ways to hold a camera, here are my five most common techniques:
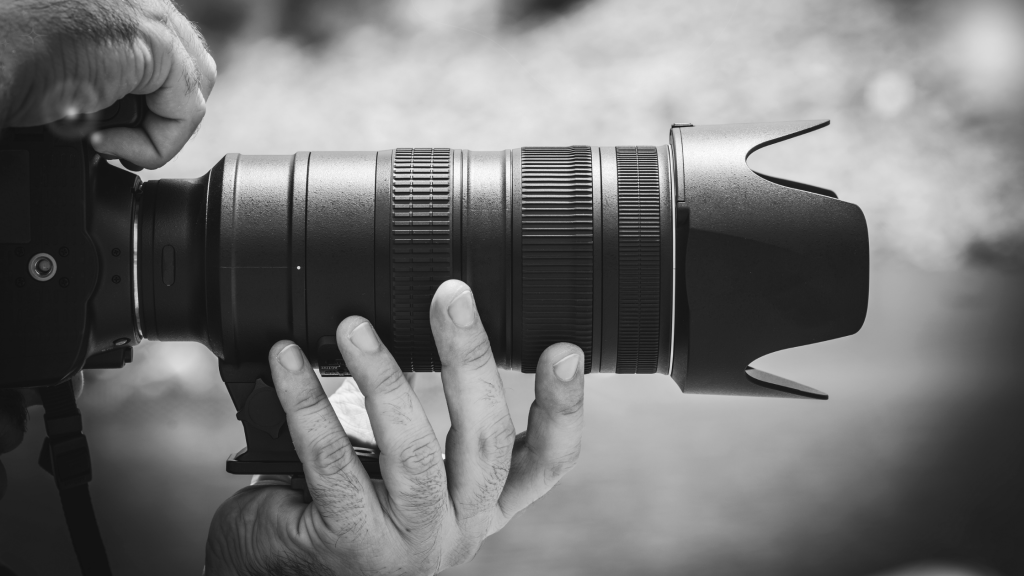
1: The “standard grip”: This is the most common way to hold a camera, and involves holding the camera with both hands, one hand on the grip and the other hand supporting the lens or the body of the camera.
2: The “underhand grip”: This involves holding the camera with one hand, with the thumb on the grip and the fingers wrapped around the body or lens. This grip is often used for low-angle shots or when shooting from a stable surface.
3: The “two-handed grip”: This involves holding the camera with both hands, with one hand on the grip and the other hand supporting the lens or the body of the camera. This grip is often used when shooting with longer lenses or in low light conditions.
4: The “one-handed grip”: This involves holding the camera with just one hand, usually with the thumb on the grip and the fingers wrapped around the body or lens. This grip is often used when shooting quickly or when trying to be discreet.
5: The “neck strap grip”: This involves using the camera’s neck strap to support the weight of the camera while shooting. This grip is often used when shooting with longer lenses or in situations where it is not practical to hold the camera with both hands.
It’s important to find a grip that is comfortable and allows you to steady the camera, as this will help you take sharper photos. Experiment with different grips to see what works best for you.
We are all different and each of these grip styles have advantages and disadvantages. And may require different camera settings to enable optimal sharpness .. for instance shooting one handed may require a faster shutter speed to help with camera shake. So remember to take this into consideration when shooting.
More simple tips and tricks coming your way soon.. follow to be first to see them and get notified when we post.
Portrait photography is the art of capturing a person’s likeness in a photograph. It is a popular form of photography that is used for a variety of purposes such as family photos, headshots, and engagement photos. To achieve the best results in portrait photography, it is important to use the right lens.
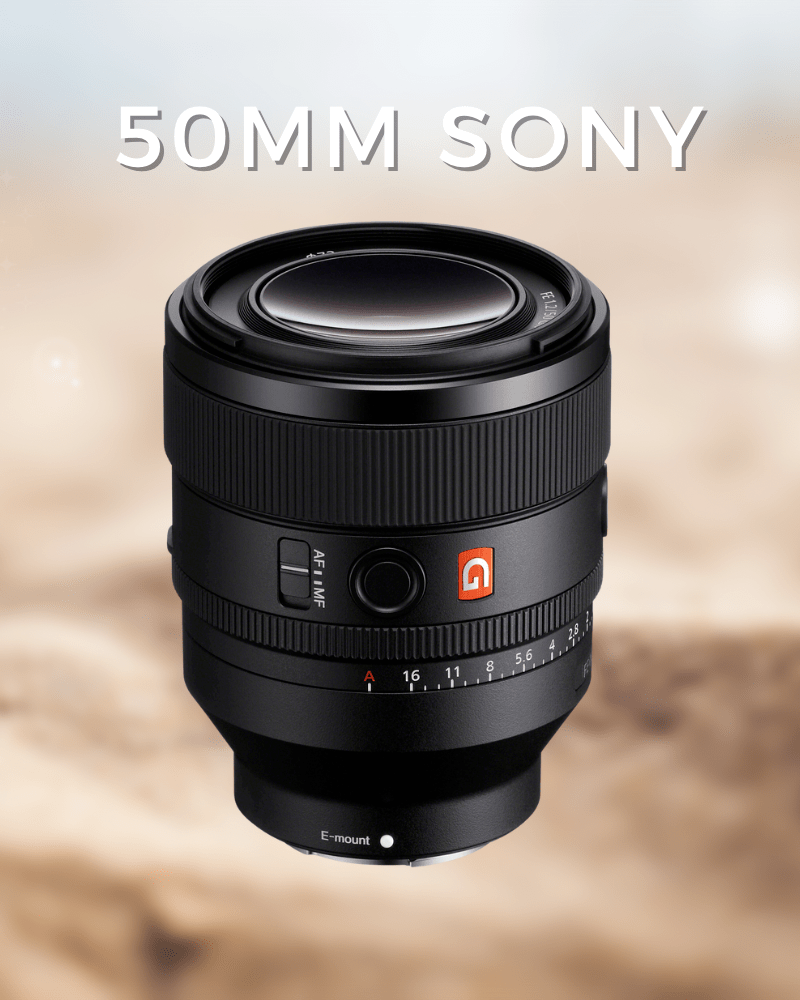
One of the best lenses for portrait photography is a telephoto lens. Telephoto lenses have a longer focal length, which allows you to capture a subject from a distance. This is particularly useful in situations where you are not able to get close to your subject. Telephoto lenses also have a shallower depth of field which helps to blur the background and make the subject stand out. This creates a more pleasing and natural-looking portrait.
Sony 50mm G lens
Another great lens for portrait photography is a prime lens. Prime lenses have a fixed focal length, which means that you can’t zoom in or out. However, they are known for their sharpness and clarity, which is especially important for capturing fine details in a person’s face. They also typically have a wider aperture, which allows for a shallower depth of field, making the subject stand out even more.
Low cost Sony 85mm lens
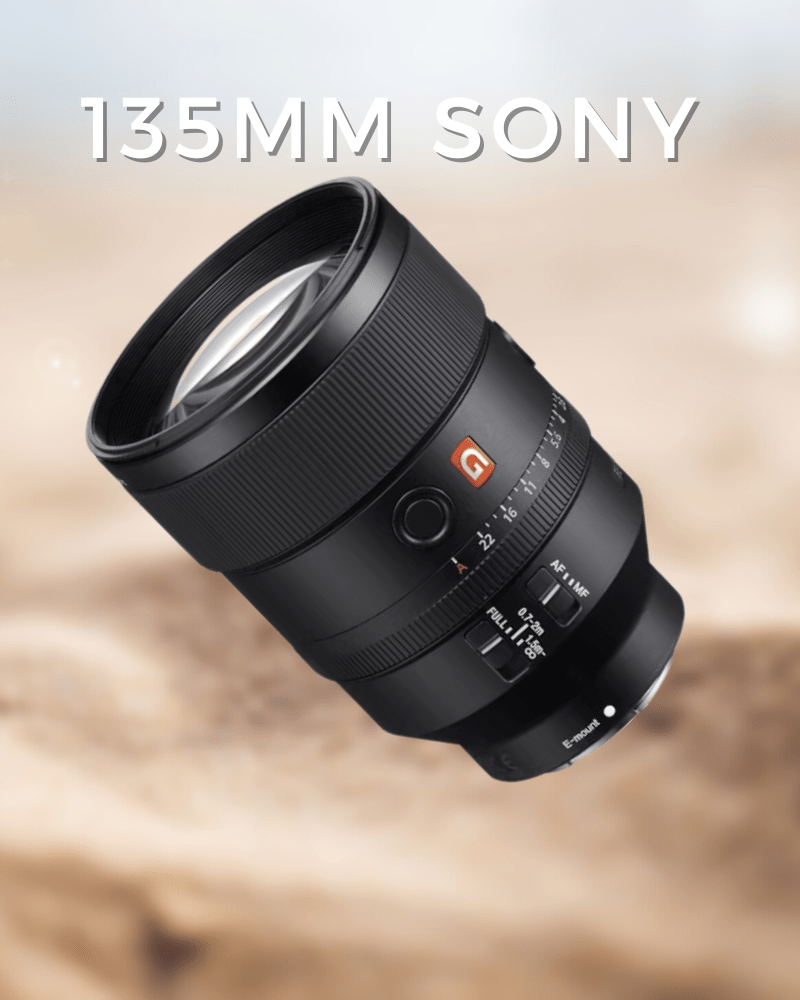
A third lens that is great for portrait photography is a medium telephoto lens. These lenses have a focal length of around 85mm to 135mm. They are great for capturing a more natural-looking portrait as they are able to capture a subject with a more natural perspective. They also have a shallower depth of field which helps to blur the background and make the subject stand out.
Sony 135mm G lens
In summary, the best lenses for portrait photography are telephoto, prime, and medium telephoto lenses. They are all great choices for capturing stunning portraits because of their ability to create a shallow depth of field and focus on the subject, while blurring the background. They can also capture the fine details of a person’s face, which is essential for creating a pleasing portrait
Low light photography can be a challenging but rewarding experience. It requires a combination of technical knowledge and creative thinking to capture beautiful and unique images in dimly lit environments. In this essay, we will explore some tips and techniques for getting the best results from your camera in low light situations, and how to avoid common pitfalls that lead to blurry
images.
The first step in low light photography is to understand the limitations of your camera. Most cameras perform best in bright light, and as the light level decreases, the camera’s ability to capture sharp and detailed images also decreases. This is because the camera’s sensor needs a certain amount of light to function properly, and in low light situations, the sensor may not be able to gather enough light to produce a clear image.
To compensate for this, you will need to use a longer shutter speed, which allows more light to reach the sensor. However, using a longer shutter speed also increases the risk of camera shake, which can result in blurry images. To avoid this, you will need to use a tripod or some other form of support to keep your camera steady. Additionally, you can use the self-timer function on your camera to avoid camera shake caused by pressing the shutter button.
Another way to increase the amount of light reaching the sensor is to use a wider aperture. Aperture is the opening in the lens that controls how much light reaches the sensor. By using a wider aperture, more light can enter the camera and reach the sensor. However, this also affects the depth of field, which is the area of the image that is in focus. A wider aperture will result in a shallower depth of field, which can be useful for creating a sense of depth and separation in your images.
Another important aspect of low light photography is ISO. ISO is a measure of the camera’s sensitivity to light. The lower the ISO, the less sensitive the camera is to light and the less noise in the image. However, in low light situations, you may need to use a higher ISO to get a well-exposed image. But, as you increase the ISO, you will also increase the amount of noise in the image, which can be unsightly. So, it’s a balance between having a well-exposed image and having noise in the image.
In addition to adjusting these technical settings, you can also use creative techniques to enhance your low light images. For example, you can use a flashlight or other light source to illuminate specific areas of the image. You can also use long exposures to capture the movement of light in the scene. This can create interesting and dynamic images that are not possible in bright light.
In conclusion, low light photography can be a challenging but rewarding experience. It requires a combination of technical knowledge and creative thinking to capture beautiful and unique images in dimly lit environments. By understanding the limitations of your camera, using a tripod or other form of support, adjusting the aperture, ISO and shutter speed, and using creative techniques, you can get the best results from your camera in low light situations and avoid the common pitfalls that lead to blurry images.