Portrait photographer turned Landscape photographer

The photography community got hit pretty hard when the uk was his with the coronavirus.

When people couldn’t come together, it made being a photographer pretty void. We couldn’t do wedding, birthday parties, family or single person portraits and couldn’t keep doing our main income of corporate headshots.

So a number of amazing photographers had to diversify into other forms of photography. To keep their business afloat.

Me being one!

It’s not a hard transition if I’m completely honest! As long as you know your gear and understand the basics of composition then a lot of it falls into place pretty fast.

I think I was very lucky to have a good array of different lenses, That would suit both portrait and landscape photography. As I own zoom and prime lenses with every focal length from 10mm to 900mm so i feel I was in a good place to take the plunge with landscape photography.

So I headed out on what was to be a fun journey of landscape exploration and documentation.

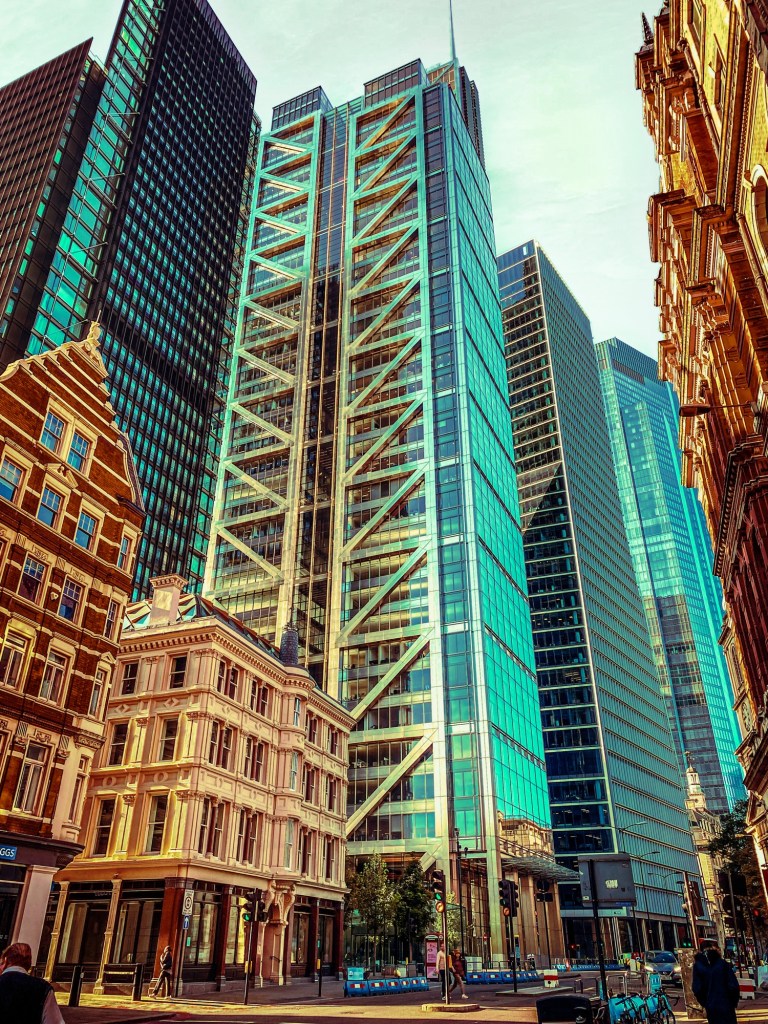
Along the way it’s taken some side steps not only have I found amazing places to photograph but also beautiful seascapes, shipwrecks even cityscapes.

Karma shipwreck
Local Churches
The City of London
Autumn vista Delph Ditch Maldon

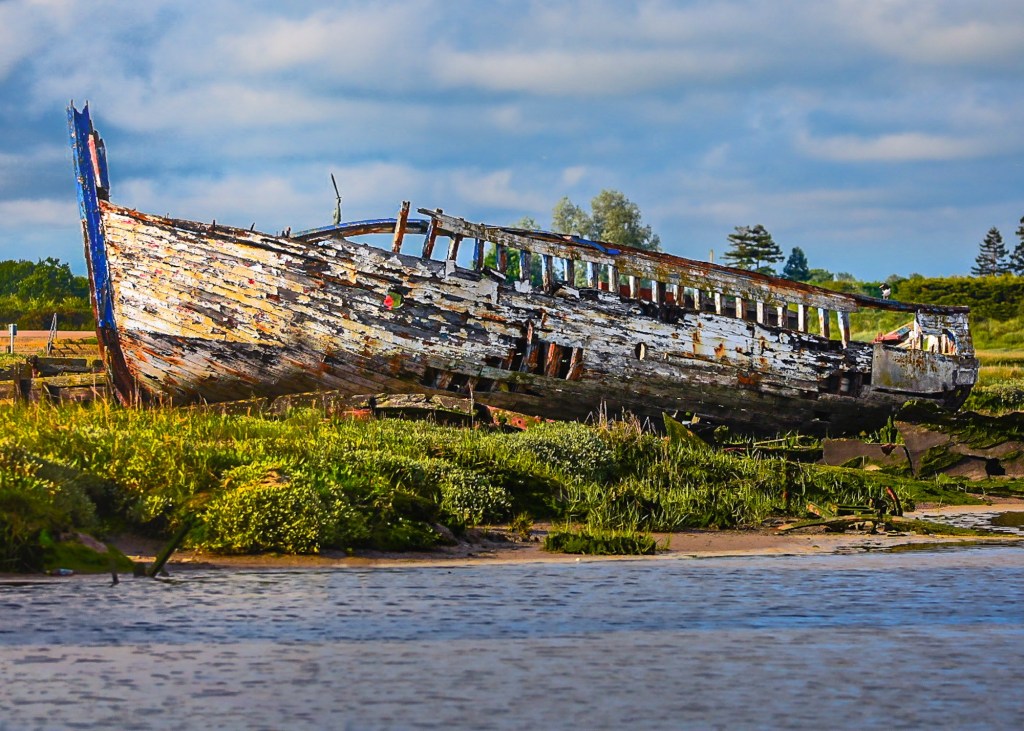
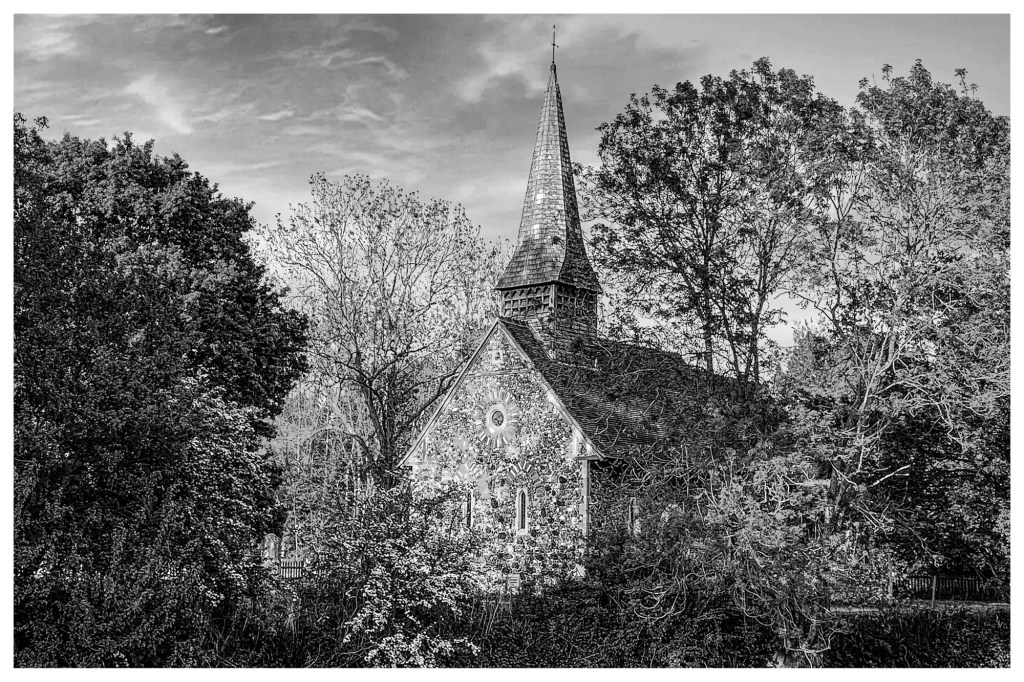
In the last two years I’ve seen and captured some amazing images. From sunsets to blue moons, old barges and rundown buildings that are part of our history but will never be re built. But tell stories of years gone by.

I’ve seen my images in local news papers, in magazines, printed on show stands at photography shows for companies like fujifilm. Even been part of a gallery exhibition.

All these things I couldn’t have dreamt of being a part of without becoming a landscape photographer.

Over the next few months I will adding new images and sharing more of what I’m doing on here so I hope to get your support and feedback

So Two years on and I now have a passion for landscape and where it can take me. And now I’m branching out. So that many more people can be part of my journey. I’m opening a small online store so that people can purchase my images as digital downloads and also printed photography products. At a low price.

And at the same time support me on my journey if you wish to know more /make a purchase click the button below it will take you there

Ko-fi Shop
Buy with confidence securely 24/7

What you can expect to find over the coming weeks

  • High resolution image downloads
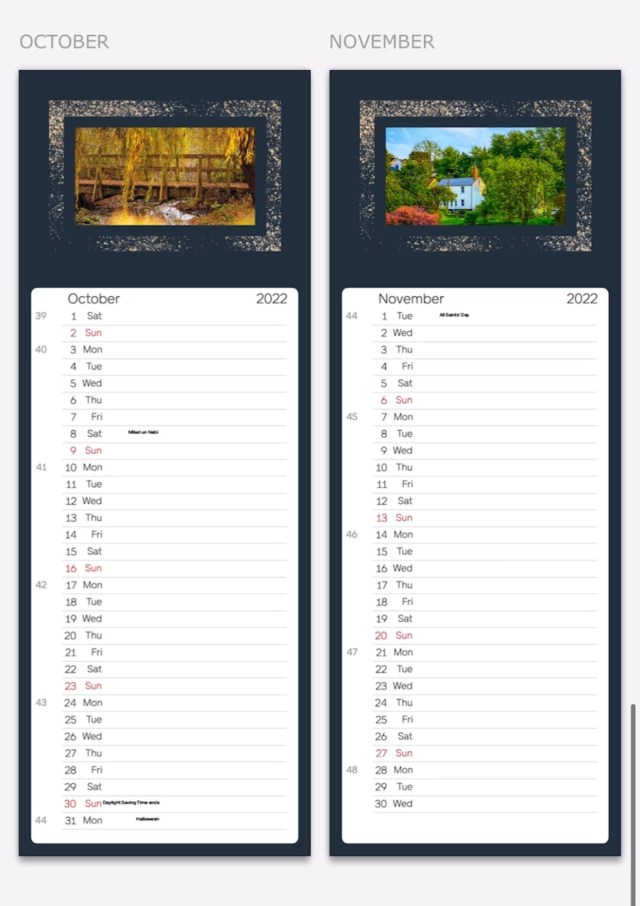
  • Calendars (current year 2024)
  • Christmas cards
  • Birthday cards
  • Wall art
  • Keyrings
  • All this & More will be added over coming weeks.
  • You can also support us by donation on the same app. This is done with either purchasing a product and adding more to the price or simply using the donation button and donating what you can afford.

Please if you have gotten this far please click follow to see updates as we will be posting new product listings as we add them to our shop. And also you can see some of our new amazing images first.

My ten tips to create beautiful lighting that flatters for that perfect selfie or as a professional photographer.

This is My Ten simple tips to create beautiful lighting that flatters for professional photos or perfect selfies

1: Use natural light whenever possible.
Natural light is often the most flattering and easiest to work with. Putting your subject in the right place at the right time of day with natural light can be the softest lighting to work with, and most effective.

All natural overcast day light

2: Experiment with different times of day.
The quality of light can change significantly depending on the time of day, so try shooting at different times to see what works best for you or your subject.

3: Use reflectors or a white card to bounce light back onto the subject.
This can help fill in shadows and add dimension to the subject. Bring out a glow to the eyes and under the chin to make an image more appealing to the eye.

4: Experiment with different light sources.
In addition to natural light, you can also use artificial light sources such as studio strobes or continuous lights. Even a simple ring light can be a creative tool or a small video light will add a pop to your pictures.

5: Pay attention to the direction of the light.
Light that is coming from the side or from behind the subject can create a more dramatic effect, sometimes a bright light from behind will result in a more silhouetted looking image.

Natural light with a reflector to reduce shadows and add a catch light to the eyes

6: Use diffusers to soften the light.
This can help reduce harsh shadows and make the light more flattering to the subject. A simple white sheet over a window will give a soft touch to any image.

7: Avoid shooting directly into the sun.
This can create harsh shadows and cause lens flare and in turn make the images soft with less contrast. Though this rule isn’t always bad. It can also be creative if used in the correct environment .

Bright side light from back lighting in mid day sun

8: Use negative fill to create shadows. By placing a dark object near the subject, you can create shadows and add depth to the image.
If you have a very light room from natural light through a window or a white bedroom this idea will be great, even a dark sheet/ blind or black card will reduce some light giving more depth to a subject.

9: Experiment with different apertures. Aperture controls the amount of light that enters the camera, as well as the depth of field.
This can be found on all manual settings in camera or on smartphones. This is perfect to add a little creative look when using a low F number ..

10: Keep an eye on the colour temperature of the light. Different light sources can cast different color temperatures, which can affect the overall mood of the image. Use a colour checker or white balance tools to help ensure accurate colour. For instance house lighting and sunlight can produce a warm tone to an image.. where a window lit by indirect light or even a snow scene will have a cooler more white look..

Please remember that these are my personal tips, we all have our own ideas. There’s nothing wrong with using a bunch of the above methods and then in your preferred editing software creating something much more refined or dramatic.

Let me know what you try and how it works out for you.

Follow me on here or on Instagram http://www.instagram.com/adriandayphotography to see more !

New one minute video just gone live on YouTube

Hey guys and girls just a quick message to let you all know that there is a very short video just been posted !

Please go show a little support and follow like subscribe!

Let me know what you think of the images !

YouTube post click here to go see it !

2022 limited edition Maldon Calendars

Well we are just in the process of going to print with the limited edition Maldon Calendars.

We tested the water just after Christmas and was amazed that the five we had printed sold out in just seconds !

Not kidding! one single post on facebook and they was all accounted for .. with one person wanting two right away.

Will post the images below of what each month looks like and if you’re interested please send me a message below. (Scroll to the bottom and comment) or simply email adrianday@photographer.net

These limited Edition calenders will be priced around £14.99 +P&P total £17.49

Limited edition Maldon Calender

See carousel above for more details of the product. Twelve months of beautiful images from around the sea side town of Maldon district .. these limited edition calendars are 1 /100 printed.

£15.00

Click here to purchase.